
Updated November 2026
Need it modeled first?
3D Design Services
Oddtoe’s 3D design services turn an idea into a model you can walk around before anything is built. The model becomes the render, the print file and the maker’s pattern, so you approve the drawing once and the same file carries on to fabrication.
The short version
What are 3D design services?
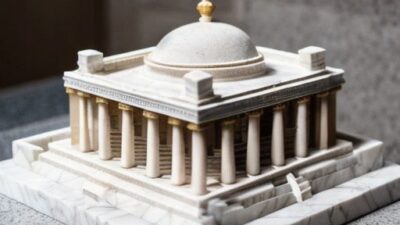
3D design services build a character, prop or structure as a 3D model first: its shape, proportions, materials and lighting. Oddtoe designs characters, props, inflatables and installation pieces this way, then hands the model on as renders, a printable file or a pattern for a fabricator.
Oddtoe is an experiential design and generative-AI animation studio based in Melbourne, creating projection, installation, and animated work for events, venues, and galleries.
Two words, two different jobs
What is the difference between 3D design and 3D rendering?
3D design makes the model, and 3D rendering turns it into an image or a video. Many studios sell rendering on its own, as pictures of buildings and interiors, while Oddtoe sells the design and the renders together, for things that get made.
A render answers what will it look like. A design answers what is it, how big is it and how does it come apart. For a character, a prop or an inflatable you need both, because the picture is only useful if the object behind it can be built.
The same asset that proves the piece to a client also produces pitch renders, animated content for screens or projection, and social cutdowns. Nothing is redrawn for each use, which keeps the look consistent from the first approval to the finished piece. Send the brief through the contact page and a real person answers.
Questions & Answers
3D design services
What gets designed
What can be designed in 3D?
Anything that has to be built to a shape: a character or mascot, a prop, a giant inflatable, an installation or a window. Each starts as a model you can review from any angle, then moves to the maker that suits it.
Characters and mascots are the most common starting point — see character design and the mascot designer page. Oddtoe designed a garden gnome in 3D that way, as a character first and a figure second.
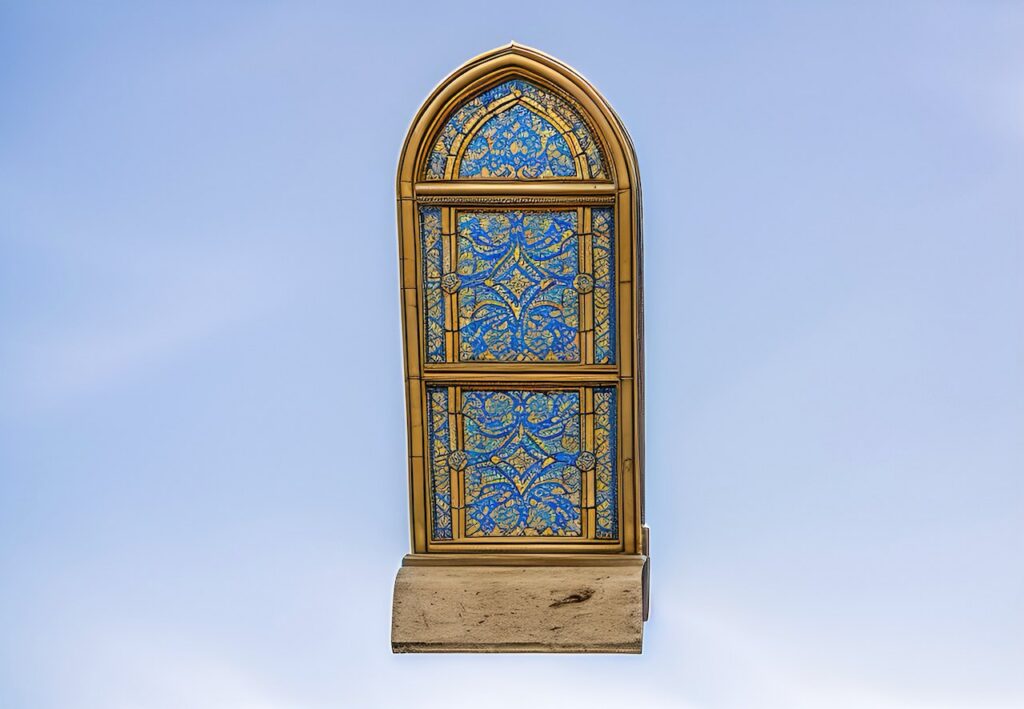
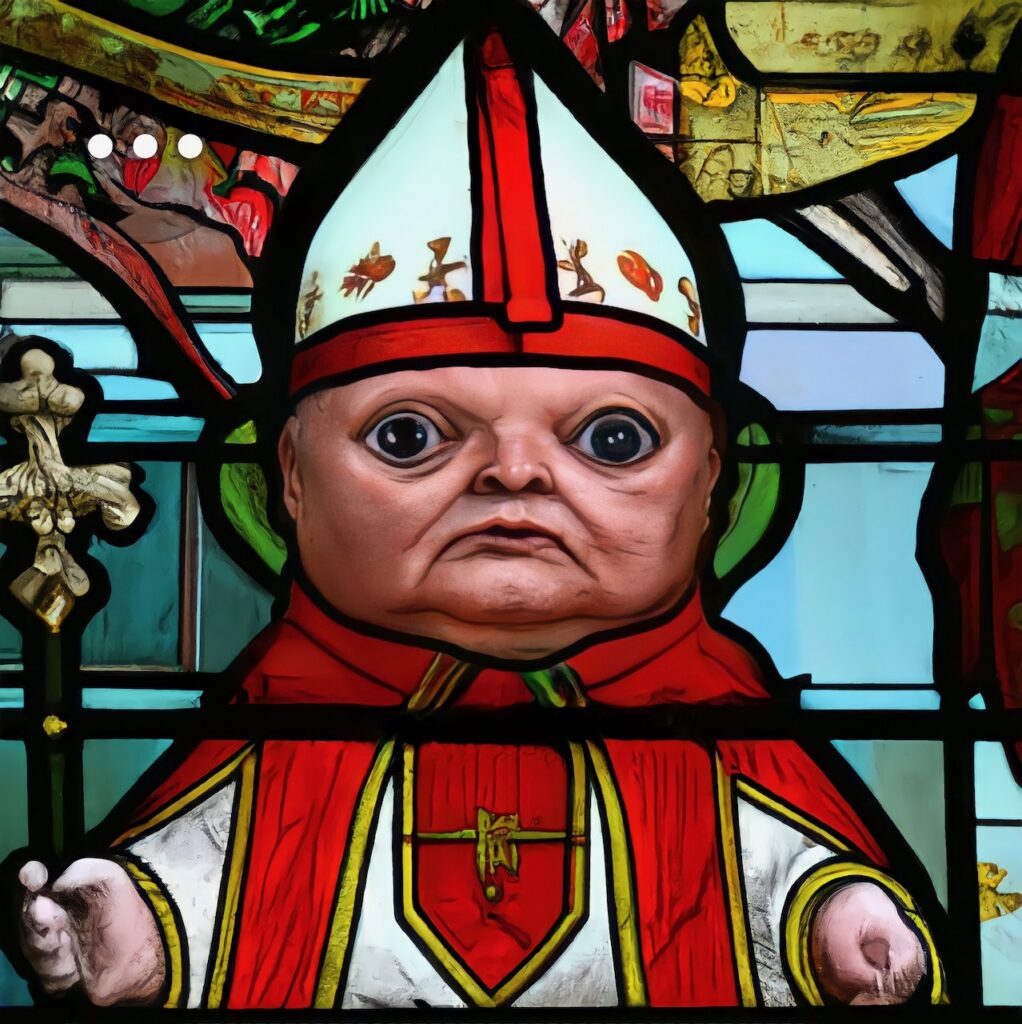
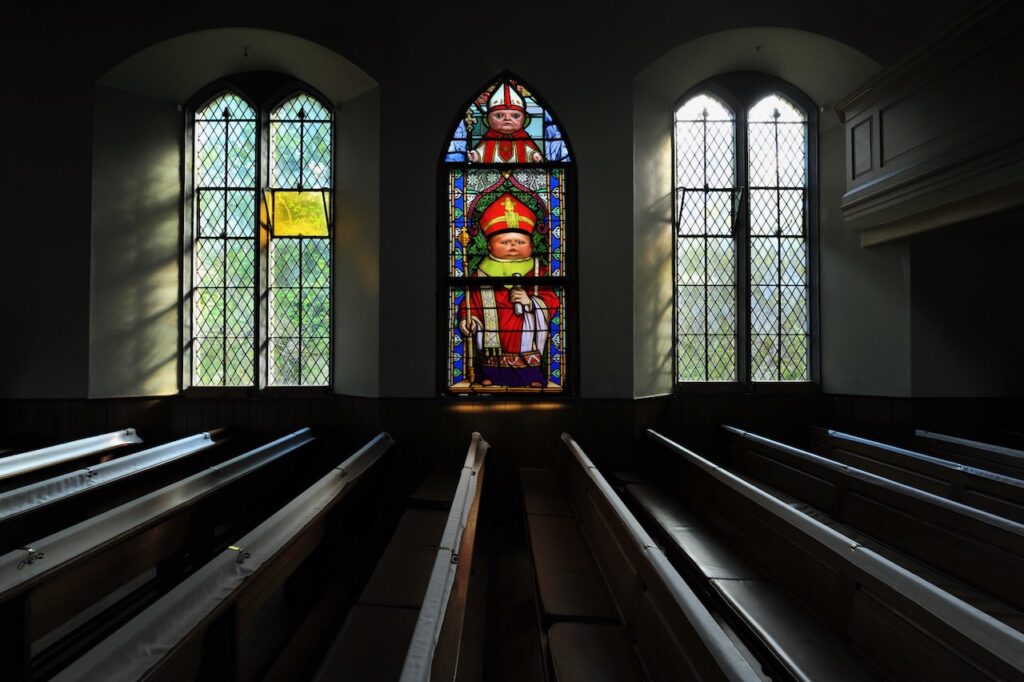
Pieces that get built from the model include props, giant inflatables and installations. Below is a stained glass window project: the window modeled in Blender, a character drawn into the glass, and the window seen from inside a church.
Screen recording: the stained glass window modeled and shaded in Blender.
How a project runs
How does a 3D design project work?
A brief and reference come first, then the model, then your approval, then the hand-off to renders, printing or a fabricator. Nothing is made until you have approved the drawing.
Oddtoe takes a piece from sketch to a model a client can be walked around, checking how it reads from a distance and from directly beneath, then breaking the shape into the parts a maker needs. For an inflatable that means panels a fabricator can cut and sew; for a small prop it can mean a file that is printed directly.
Doing the model first is cheaper than finding a problem in the build. Proportions, joins and weak points show up on screen, where changing them costs a conversation and not a rebuild.
Where it starts
Inside a 3D design project
In the stained glass project I modeled the window in Blender, then gave the glass its own material so it caught light like glass and not like paint. The video above is the work in progress: the window, the material settings and the viewport.
Next came the character in the glass, a stout robed figure drawn to sit inside the lead lines. Then I placed the window in a church wall and looked at it from inside, because a window that works as a model can still fail at the pew.
That last step is the point of designing in 3D: you see the piece in its place before anyone cuts glass or carves foam.

What you get at the end
Renders, print file or pattern set: which hand-off fits?
The same 3D model can leave the studio in three ways. This is what changes between them.
| Criterion | Renders | Print file | Pattern set |
|---|---|---|---|
| Best for | Approving the look and sharing it | Small parts and props printed directly | Large pieces built by a fabricator |
| What you get | Still images and animated clips | A 3D file ready to print | Parts cut to a pattern set |
| Who uses it | You, your client, screens and projection | Oddtoe’s workshop | The fabricator or specialist maker |
| Made from | The same 3D model | The same 3D model | The same 3D model |
| Changes late? | Cheap to redo on screen | Reprinted from the file | Settle the model before patterns are cut |
Oddtoe scopes each project after a conversation about the brief.
What to send when you brief
How to brief a 3D design project
Send reference images first, even rough ones: a photo, a sketch, a screenshot of something close. Say what the piece is for and where it will be seen, because that decides the level of detail before the model starts.
Tell me the size, the date and the space. A piece that has to fit through a door, hang from a ceiling or travel in a van is a different model from one that stays put.
Share any constraints that already exist: a weight limit, a color that has to match, an existing character sheet. Send it through the contact page and I will say honestly whether it needs a model, a render or a build.
Tell us what you are imagining…
Want to talk about a project?
"*" indicates required fields